Understanding the Importance of a Fresh Battery for Your Garmin Vivoactive 4
Your Garmin Vivoactive 4 might be your constant companion, but even the most dependable technology needs love and attention. And when it comes to keeping up with your fitness goals, that includes ensuring your battery is in top shape. Like any other device, your Vivoactive 4’s battery life will naturally diminish over time, especially if you use it frequently for activities like GPS tracking or heart rate monitoring.
But don’t despair! Replacing the battery on your Garmin Vivoactive 4 is surprisingly straightforward and can often be done at home. This guide walks you through the process step-by-step, explaining what to expect along the way and providing valuable tips for a successful replacement.
What’s Behind the Battery Replacement?
Before we dive into the nitty-gritty of replacing your Vivoactive 4 battery, let’s take a brief look at why this is important in the first place. Batteries are essentially tiny powerhouses that fuel the activity tracking features within your smartwatch. After extended use or even with minimal usage, its charging cycles can reduce the battery’s capacity. This means you need to replace the battery and recharge it regularly.
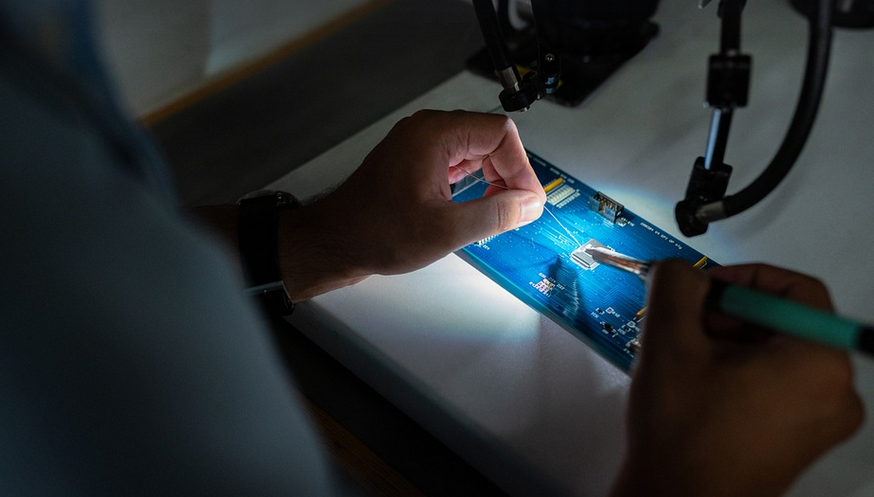
Preparing for a Battery Swap: A Step-by-Step Guide
Here’s where things get interesting! Replacing the battery in your Vivoactive 4 might seem daunting, but with these easy steps, even novice users can confidently tackle the task. The process involves some key tools and materials to make it smoother:
- **A new Garmin Vivoactive 4 battery:** You’ll need a replacement battery that precisely matches your device model.
- **Anti-static wrist strap (optional):** This helps prevent static electricity from damaging delicate electronic components during the process.
- **Two small screwdrivers:** One flathead and one Phillips head screwdriver, often used for smaller electronics repairs.
Before you begin, familiarize yourself with the specific instructions provided in your device’s user manual. Some models might require special tools or procedures that differ from the general guidelines.
Taking it Easy: The Process of Battery Replacement
Now that we’ve got our tools and materials in place, let’s get down to business! Replacing your Vivoactive 4 battery can be done with careful precision. It’s a straightforward process:
- **Locate the Battery:** The battery is located just beneath your smartwatch’s back cover.
- **Power Down Your Device:** Switch off the device and ensure everything is completely powered down for safety.
- **Remove the Back Cover:** Use a small flathead screwdriver to carefully pry open the Vivoactive 4’s back case. Be gentle around all components to avoid potential damage.
- **Locate the Battery Compartment:** Look for the battery compartment, often marked with a clearly visible symbol.
- **Remove the Old Battery:** Carefully lift and detach the old battery from the device’s circuit board, following the proper procedures outlined in your manual or by contacting Garmin directly.
A Fresh Start: Installing Your New Battery
Once you’ve removed the old battery, it’s time for a new start! Install the new battery into its corresponding compartment carefully. Pay attention to any specific alignment guides. Then, secure it in place using the existing screws.
A Test Drive: Putting Your Vivoactive 4 Through Its paces
Congratulations, you’ve successfully replaced your Vivoactive 4’s battery! Now for a final test drive. Before getting too enthusiastic with workouts or long-distance activities, ensure your device charges properly and maintains its performance.
Beyond the Battery: Ensuring Your Device’s Longevity
Caring for your Garmin Vivoactive 4 extends beyond just replacing the battery. To keep this valuable companion running smoothly, follow these simple steps:
- **Keep it Clean:** Regularly wipe down the watch face with a soft, dry cloth to prevent dust buildup.
- **Use the Right Charger:** Always charge your Vivoactive 4 with the original charger provided by Garmin. Using incompatible chargers can damage your device.]
- **Software Updates:** Regularly check for software updates. These updates may include bug fixes and performance improvements to ensure optimal functionality.
By investing time and effort into maintaining your Vivoactive 4, you’re ensuring that its battery life remains strong and its features continue to deliver the best possible experience for years to come.