The Frustration of Lossy Audio
We’ve all been there. You’re in the thick of editing, your project is humming along, and then – *poof* – silence. Audio cuts out during playback in Adobe Premiere Pro, leaving you scratching your head and cursing under your breath. It can be a real pain, especially if it happens during a crucial moment in your video. But don’t worry, this common issue has a fix!
The good news is that the problem usually stems from a few easily addressed culprits. Let’s dive into some of the most frequent causes and explore potential solutions.
Understanding the Culprits
Before we jump into troubleshooting, let’s briefly understand what could be causing this annoying behavior:
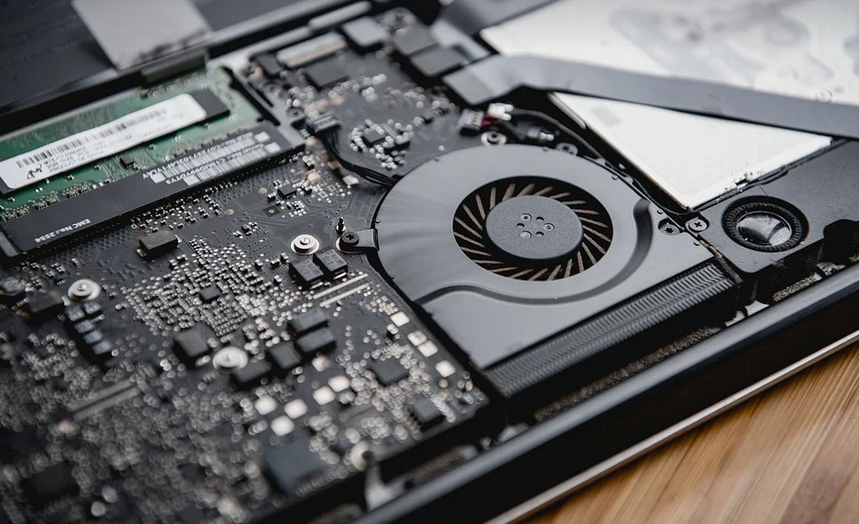
**1. Hardware Bottlenecks:** Your system might be struggling to keep up. Premiere Pro, especially with heavier projects and complex mixing effects, demands significant processing power from your computer’s CPU and RAM.
**2. Audio File Issues:** The audio file itself could be corrupted or have a problem that causes it to cut out during playback. It’s worth double-checking the file for errors or damage
**3. Project Settings:** Some project settings, like sample rate and bit depth, might be incompatible with your system’s capabilities.
Step 1: The Quick Check
Before you dive into complex troubleshooting, do a quick check of the obvious:
**Check Your Audio Input:** Ensure that your audio source is properly connected and configured within Premiere Pro. Are you using an external microphone or mixer? Make sure the input levels are set correctly.
Step 2: The Hardware Check
**Look at RAM:** A system with insufficient RAM can lead to audio distortion, especially when dealing with demanding projects. Ensure your computer has enough free RAM.
**Check Disk Space:** A full hard drive or a lack of available disk space can also cause Premiere Pro to crash or stutter. Allocate some extra space for the project and ensure you have ample room on the drive.
Step 3: Audio File Integrity Check
**Go through Your Files:** If your audio is sourced from a pre-recorded file, double-check it for any signs of corruption or damage. File corruption can cause all sorts of issues – including random audio cuts!
**Try a Different Audio File:** A simple test to see if the issue is with the specific audio file itself. Download or import a small, clean sound effect into Premiere Pro to confirm if the problem persists.
Step 4: Project Settings Audit
**Project Settings Check:** These settings can significantly impact audio playback. Ensure they are set for compatibility with your system and that the desired bit depth and sample rate are appropriate:
- **Sample Rate:** The speed at which audio is captured, measured in Hertz (Hz). A common setting for music and voiceovers is 48kHz.
- **Bit Depth:** The number of bits used to represent the audio signal. Higher bit depth means greater fidelity but also a higher file size.
Step 5: System Resources Check
**Resource Monitoring Tools:** Use built-in monitoring tools in Premiere Pro or your operating system (Windows) and macOS to observe real-time CPU and RAM usage. Identify any sudden spikes that might be contributing to the issue.
Restart the App & Computer
**Reboot and Refresh:** Sometimes, a simple restart can do wonders! Restarting Premiere Pro and your computer can clear out some temporary glitches and refresh the application’s resources.
Step 6: Advanced Troubleshooting Options
**Update Drivers:** Outdated drivers for audio cards or sound interfaces are known to cause playback issues. Check for updates from both the manufacturer of your hardware and Adobe’s website dedicated to Premiere Pro.
**Experiment with Plugins and Effects:** If you use a lot of plugins or effects, try selectively turning them off one by one to see if that resolves the issue. Isolating the problem might help.
Seek Help from Adobe
**Adobe Support: ** If all else fails, it never hurts to reach out to Adobe’s support team! They have a wealth of knowledge and can offer technical assistance or a workaround for specific issues.


